“Hello World!” with KODI
I wanted to use the last couple of days before its back to work to take a brief look into the world of xbmc (now KODI!) addon development.
This post describes how one goes about writing and running the obligatory “hello world!” program with KODI.
The addon language of choice in KODI world is python, and it brings its own interpreter. I will use pycharm as an IDE.
What you need
-
KODI - A media center software which will act as the addons host. howto install KODI in your linux distro of choice is described here.
-
A Texteditor or IDE. Popular ones for Python are Pycharm, Jetbrains take at a Python IDE, or the Eclipse based PyDev.
-
xbmcstubs - a set of python files which provide method stubs for the libraries included in KODI’s python interpreter.
Other useful resources
-
Audio/video add-on tutorial on KODI wiki.
How to do it
Project structure
The addon directory must have the same name as the addon itself, which will be named io.github.lumue.xbmc.hello.
to be available to KODI it must be placed in $HOME/.kodi/addons and contain at least these two files:
-
addon.xmladdon metadata -
addon.pythe addon python script
addon.xml
<?xml version="1.0" encoding="UTF-8" standalone="yes"?>
<addon id="io.github.lumue.xbmc.hello" name="Hello World" version="1.0.0" provider-name="lumue">
<requires>
<import addon="xbmc.python" version="2.14.0"/>
</requires>
<extension point="xbmc.python.pluginsource" library="addon.py">
<provides>executable</provides>
</extension>
<extension point="xbmc.addon.metadata">
<summary lang="en">Hello World</summary>
<description lang="en">a "Hello World" addon</description>
<disclaimer lang="en"></disclaimer>
<language></language>
<platform>all</platform>
<license></license>
<forum></forum>
<website></website>
<email>mueller.lutz@gmail.com</email>
<source></source>
</extension>
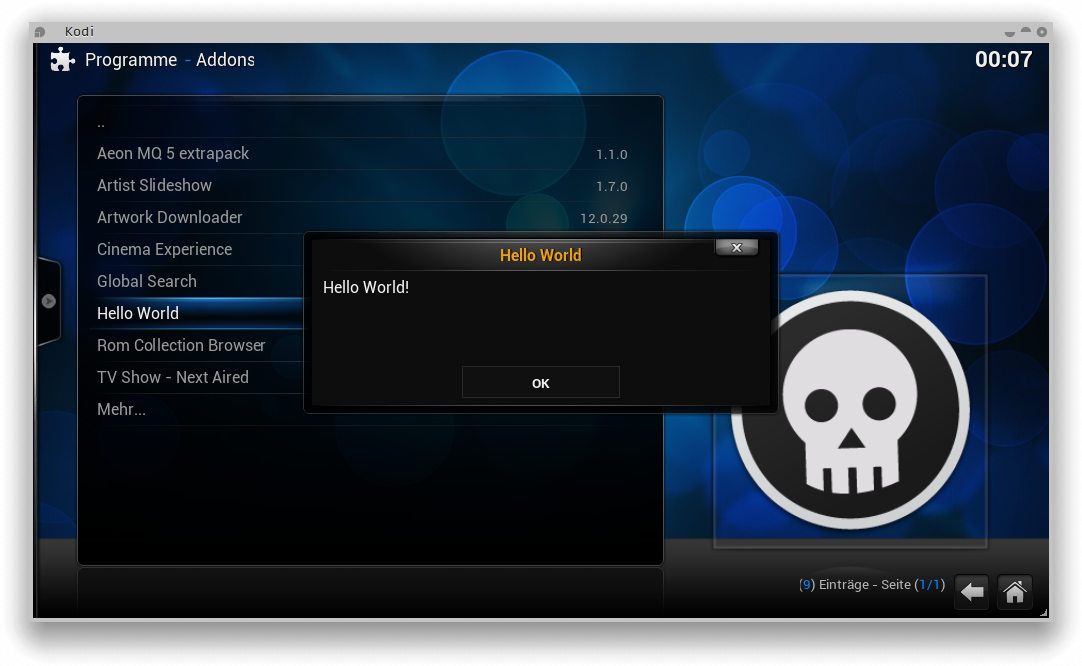
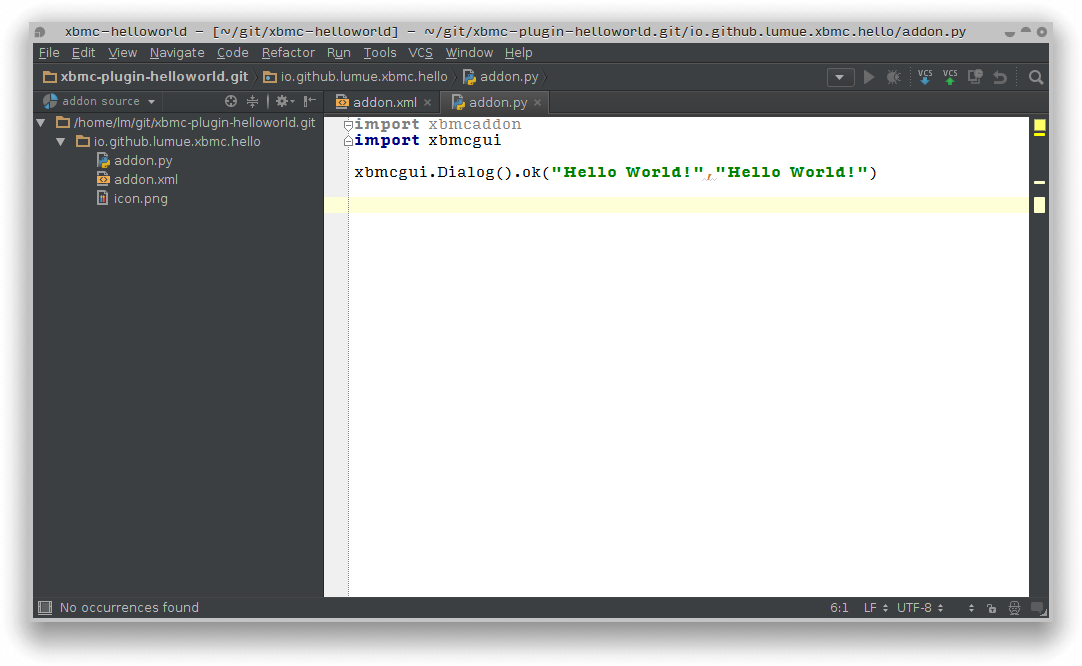
</addon>addon.py
import xbmcaddon
import xbmcgui

xbmcgui.Dialog().ok("Hello World!","Hello World!")